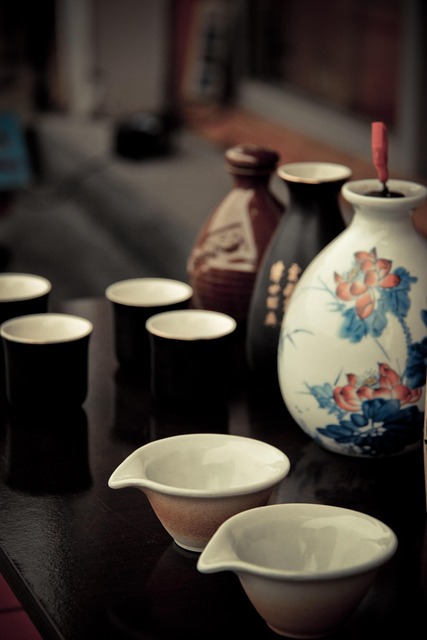
Student Gallery: forms, surfaces, and studio decisions
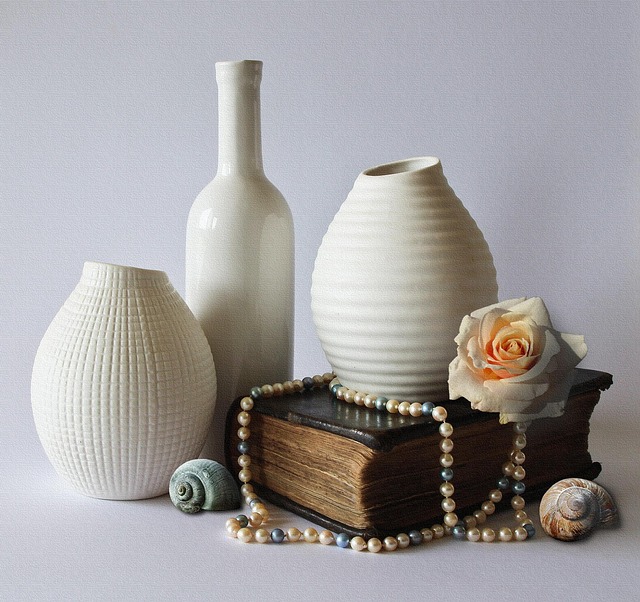
This page shows a realistic spread of course work: early practice cylinders, refined vase profiles, glaze test tiles, and kiln outcomes. Pieces vary by clay body, firing schedule, and how each student chooses proportion and surface for interior styling.
How to read the gallery
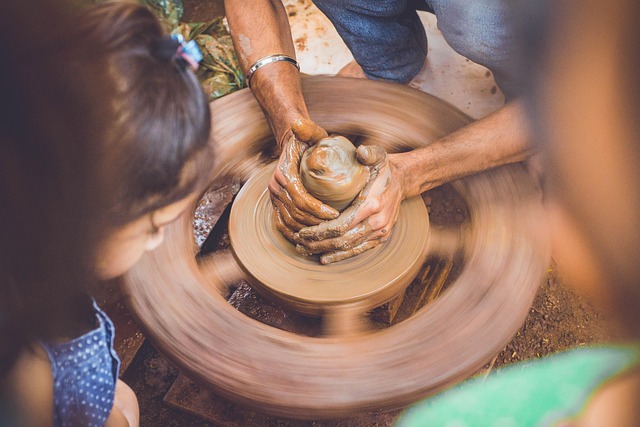
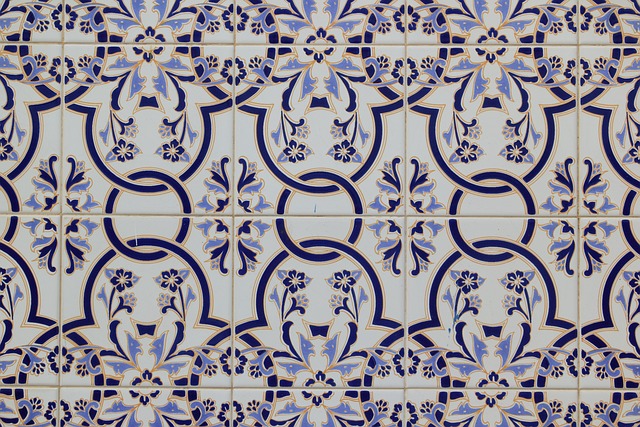
Ceramic work has a visible paper trail: a rim that gets cleaner over a few cycles, a shoulder that becomes calmer, a glaze break that shifts from accidental to intentional. The images here are grouped like a studio critique. You will see form families (cylinders, shouldered vases, narrow-neck pieces), plus surfaces (satin neutrals, layered color, controlled drips) and the tools that make them repeatable.
When you look at a piece, notice three things: the profile line (does it read stable?), the weight distribution (is the foot ring doing its job?), and the surface edge control (are glaze lines crisp and bottoms clean?). Those are the same cues we use in the course to decide what to change in the next throwing and firing cycle.
Typical studio scene: sets of related forms that share a rim detail and foot ring, then vary height and shoulder placement for a cohesive interior look.
Gallery selections
A balanced mix of wheel-thrown and hand-built decorative pieces. Each caption highlights the studio decision behind the result: trimming timing, neck support, glaze thickness, or firing notes. Images are illustrative of practice-based learning; outcomes vary by repetition and material choice.


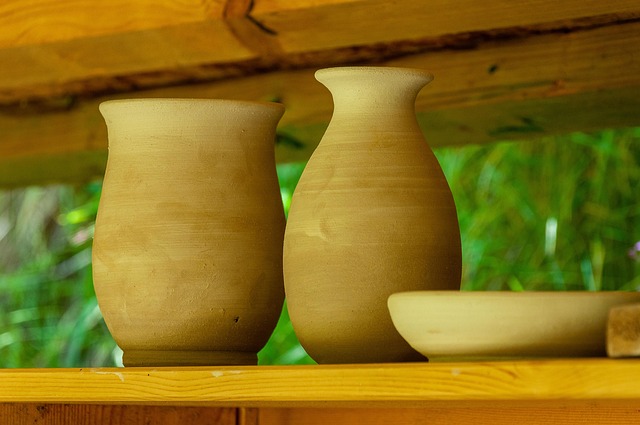
Mini case study: Cohesive shelf set with intentional variation
Problem: A student wanted three vases that felt related without looking like copies. Approach: we kept one shared decision (rim profile and foot ring), then varied shoulder height and belly volume while tracking wall thickness in the same range. Outcome: the set dried evenly with minimal distortion, and the final glaze selection used one satin base plus a restrained accent dip. — Lenka P., Interior stylist, Brno
Mini case study: Stable tall forms after a pull reset
Problem: Tall cylinders kept collapsing late in the throw. Approach: we reduced the number of pulls, added rib compression, and introduced a short rest before shaping the neck. Outcome: the next cycle produced two tall vases with steadier walls and a cleaner shoulder curve, ready for controlled glazing. — Marek S., hobby ceramicist, Brno
“I used to treat glaze like a surprise. Logging viscosity and thickness on test tiles changed everything. Now I can choose a finish for décor pieces with confidence, and my shelves finally look consistent after firing.” — Jana K., design student, Brno
“The trimming checkpoints were the unglamorous part I didn’t know I needed. My foot rings stopped looking fuzzy, the bases feel stable, and the pieces read calmer in an interior.” — Petra L., home décor maker, Brno
Want the next start date and a studio checklist?
Register with your name and email. We will reply with the next start date, format details, and a short checklist covering clay body choice, basic tools, and how to plan your first glaze tests. We do not sell your data, and you can request deletion at any time.
Educational training only. Creative results vary according to individual learning progress and artistic practice.
Disclaimer
Educational training only. The course provides instruction in ceramic techniques and design approaches for handmade decorative objects. Creative results vary according to individual learning progress and artistic practice. Any examples or outcomes shown are illustrative and depend on factors such as materials, drying conditions, firing schedules, and individual skill development.